PC Mouse

Discussion in 'My Shapeways Order Arrived' started by 48766_deleted, Nov 23, 2010.

  1. 48766_deleted
    48766_deleted Member
    Hi guys!
    Ages ago I have modeled and 3d printed a PC mouse. The idea was to make a customizable, nice looking and comfortable mouse for work and gaming.

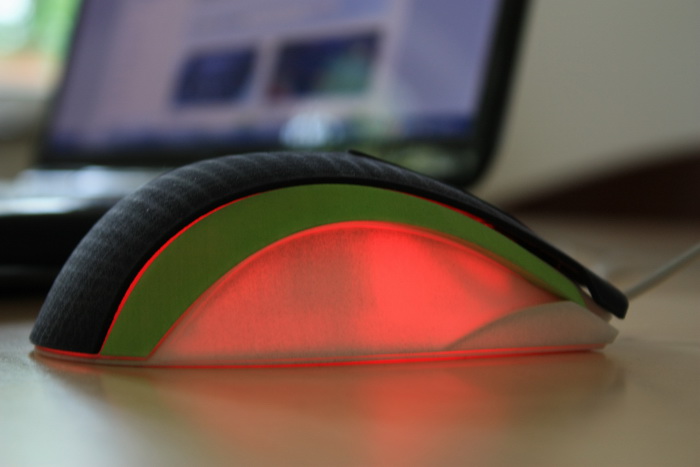
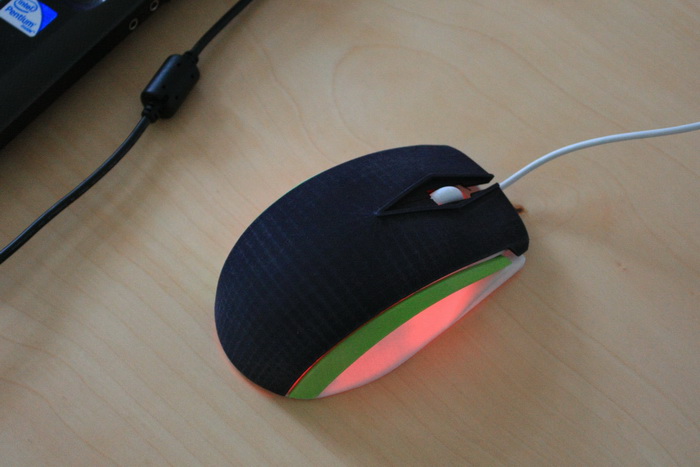
    The look. The mouse looks quite ugly in general, but quite ok (imho) at sides. The problem is that most of sketches I made were side views and I didn't pay much attention to the shape from the top.

    Ergonomics. As you may know, there are three ways people like to hold the mouse - palm grip, claw grip and something in between these two. I'm a "palm grip" type of guy, this is why I generally prefer BIG mice. I wanted to make this one big as well. And I did :) The mouse is very comfortable to use, except for several issues - the buttons turned out to be quite stiff, the wheel is too deep and grip edges are bit too sharp.

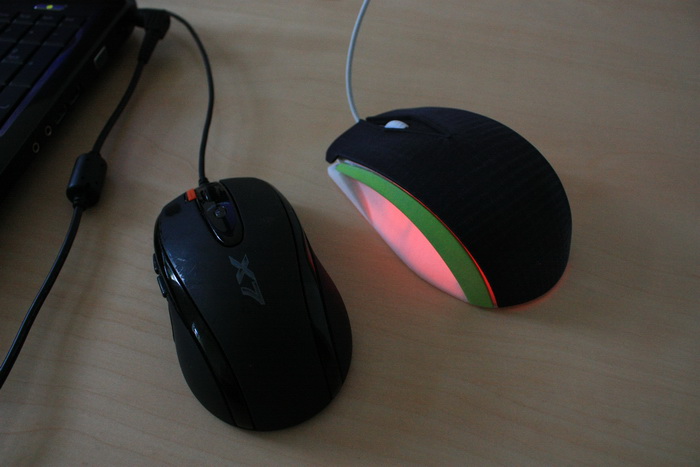
    Price. The mouse is big. You can see it in comparison with A4Tech X-7, which in its turn is definitely not the smallest gaming mouse. It resulted in price. The printing costs were about €60 (approx. $80)

    Impressions. I've been using this mouse for about two weeks, but in the end turned back to my A4Tech X-7. In addition to the issues mentioned above, I didn't like the general feel of the mouse. The materials are definitely much cheaper, than the ones used in ordinary mice, this is why they feel worse. I also tried to cut down the costs making the surfaces as thin as possible. It made the mouse feel like being made out of paper. It's definitely stiff, but it doesn't feel 'solid'.
    Funny fact - I did a bit of polishing of the top black surface and saw the mesh edges coming out brighter than the rest of the surface. This is because I used polygonal modeling, instead of NURBS or solid modeling, and the surface turned up to consist of many squares.

    Conclusions. It was a nice experience. I proved myself that it IS possible to make a functional mouse (or virtually any device) with 3D printing. I have some other (cheaper) ideas that I hope to turn into printed objects soon.

    The photos:
    IMG_5958.jpg

    IMG_5954.jpg

    IMG_5956.jpg

    IMG_5960.jpg
     
  2. 28396_deleted
    28396_deleted Member
    Very cool.

    Always glad to see a fellow concepts creator work.


    Do you have more then one username on shapeways?.. why? :)


  3. 48766_deleted
    48766_deleted Member
    thanks, dizingof!

    Yep, this is my second account, dimmulain is the other one. The reason is that I'm going to open another shop soon.
     
  4. Kaetemi
    Kaetemi Member
    Yay, more PC gadgets :laughing:
    By the way, to avoid the visible polygons, and if you're using proper edge-loops, and if you're using max, just turn off mesh smoothing groups, over-turbosmooth the model, make sure there's no smoothing groups again, and then run a prooptimizer on it, and make it so there's just enough polys so you don't see them in the viewport without smoothing groups on them. Then it'll print just fine.
     
  5. Gijs
    Gijs Member
    Nice project :)

    I am wondering: how did you measure the existing components, as I can imagine that tolerances are quite tight with such a delicate product.

    as for polygon issue: even if you are modeling with nurbs, you could have run into this problem. I'm sure there is a flat shade option in your program, that's what I use tho check the actual detail.
     
  6. 48766_deleted
    48766_deleted Member
    The polygons - I should always uncheck auto smooth every time I model for printing. I tend do forget this.

    To make the chip fit in, I made a true copy of the stubs and walls holding it in the existing mouse by measuring every single element with beam compass (I don't know if it's the right word for Stangenzirkel). It was not very difficult, took about an hour to measure and then recreate.
     
  7. stop4stuff
    stop4stuff Well-Known Member
    That's a very nice project with great results!

    Looking at your design, I'd say the buttons may be stiff due to the ridge around the wheel, and a shallow line across where the buttons need to flex might also help things.

    Stangenzirkel = calipers (German to English google translation ;))
     
  8. 54973_deleted
    54973_deleted Member
    Very Cool! I've been discovering that the hardest things to make with 3D printing and shapeways are "functional" objects, it stinks spending so much and waiting 2 weeks just discover that something doesn't quite "function" correctly. I think it looks great though!
     
  9. Muffet
    Muffet Member
    I personally love the look the mouse have, it looks like a great design to me. I even love the fact that the mouse wheel is so low in the body, and I think the squares on the body look really cool. I would love to see something like this available in a shapeways shop.